

Skip this step
Skip the Column Mapping screen if there is an exact match of columns.Help text
Add help text to the column mapping page, separately for each language. The help text supports Markdown formatting for bold, italics, and links.Mapping choice
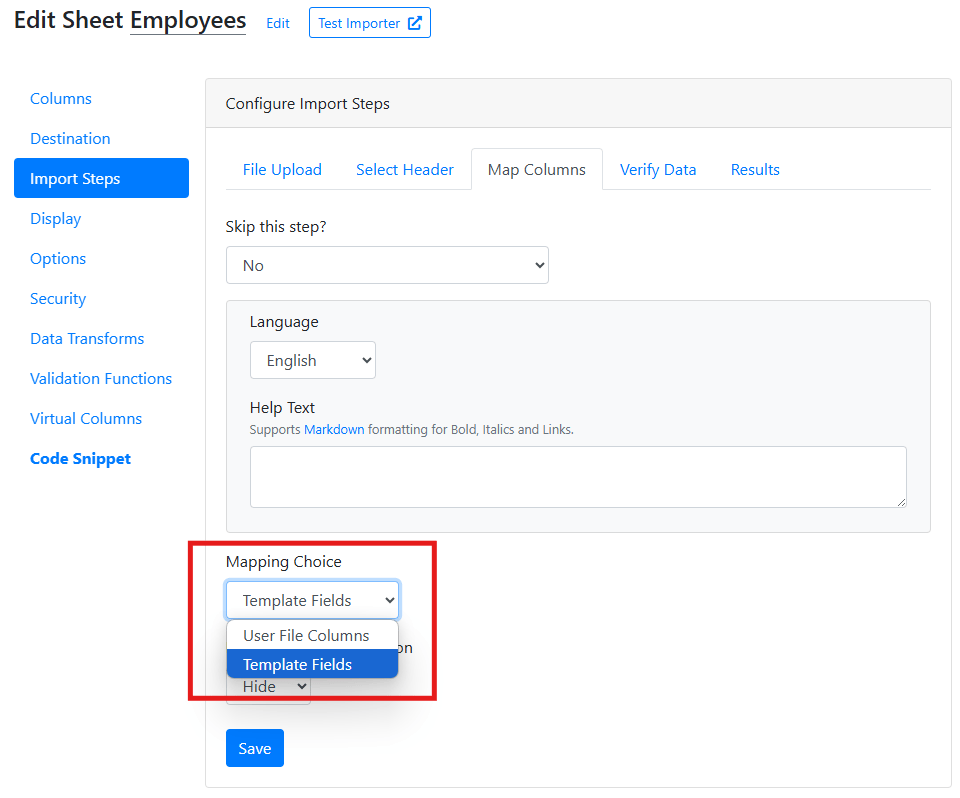
Let customers map file columns to template fields, or template fields to file columns.How it works
By default, on the column mapping screen:- Template Fields are static and displayed on the left.
- Uploaded File Columns appear on the right in a dropdown, so users can map them to the corresponding template fields.
Bulk actions dropdown
Show the Bulk Actions menu on the Column Mapping screen. It lets users reset all mappings or mark all columns as ignored in a single action, and it includes AI-powered auto column mapping to map file columns to template fields automatically.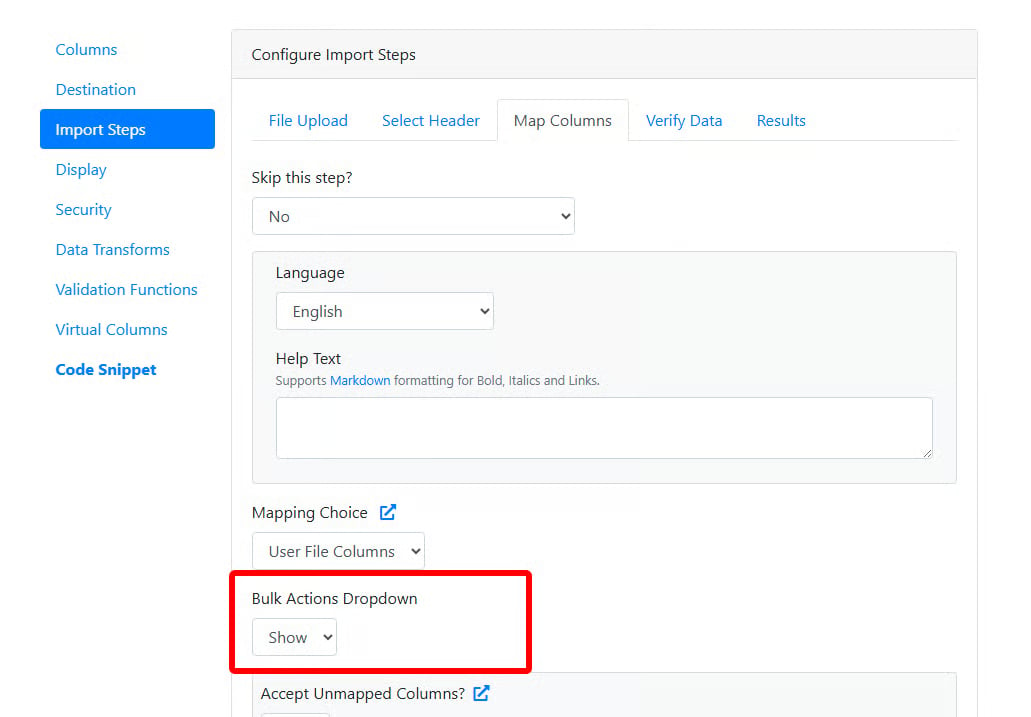
Column data preview
Show sample values from the uploaded file on the column mapping screen.Accept unmapped columns
Sometimes each of your users has unique columns in their sheets that they want to upload. You don’t know these columns beforehand, so you can’t configure them as part of the sheet template. They can be discovered only after the user uploads the file, so you can’t configure them as dynamic columns either. CSVbox calls these columns Unmapped Columns, and you can choose to accept them. To start accepting data from unmapped columns, select Yes for the Accept Unmapped Columns? field and save the sheet. The importer then starts accepting data from the unmapped columns that users submit.Receiving data from unmapped columns
Data from unmapped columns is available in the data destinations along with the data from the regular columns. Currently, unmapped columns are supported only by the following destinations:API/Webhook data destination
In the API response JSON object, the dynamic data appears inside the_unmapped_data object, as shown below. The _unmapped_data object is visible only if unmapped columns are activated. In the example below, check lines 12 and 32.
If any unmapped column has no header in the user’s uploaded file, the app auto-inserts the column names
_empty_header_1, _empty_header_2, and so on.S3 data destination
In the AWS S3 file store, unmapped columns are added as new columns in the uploaded file.Allow zero template columns
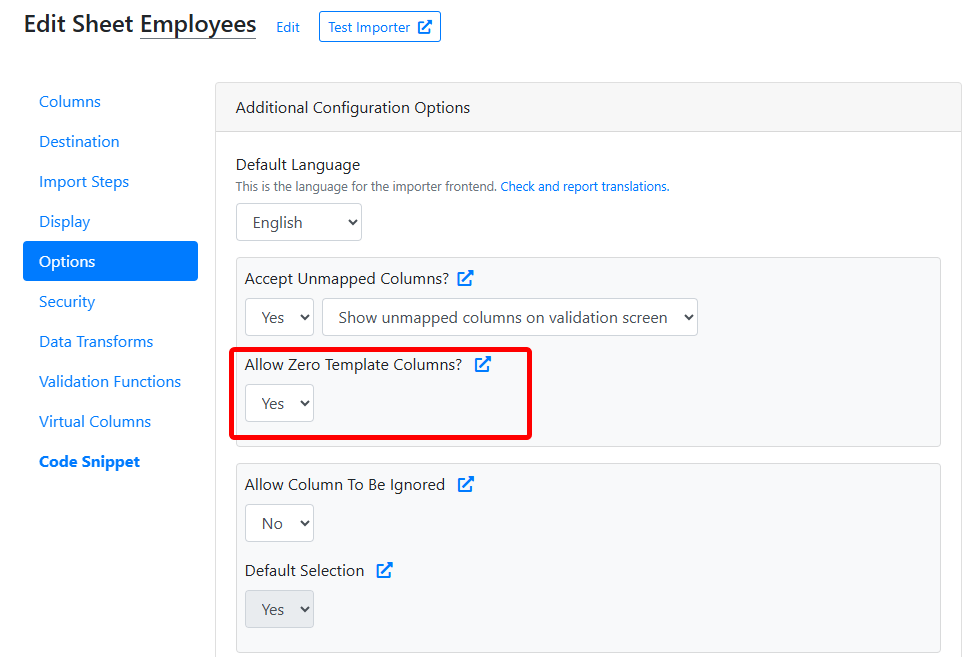
Accept file submissions without requiring any predefined template columns. This is useful when you want users to upload files with their own structure, without enforcing a strict column format.How it works
- By default, CSVbox requires at least one template column for mapping.
- Setting Allow Zero Template Columns to Yes lets users submit files without any predefined template columns, providing complete flexibility.
- You can combine this setting with the Unmapped Columns feature, so users can upload files with any set of columns without a predefined template structure.
When to use this feature
- When you want to fully accommodate user-defined file formats.
- When you prefer not to enforce a rigid template, giving users the freedom to submit files as they are.
For this feature to work effectively, set Allow Unmapped Columns to Yes along with the Show Unmapped Columns on Validation Screen selection. This lets users review and verify file columns before submission.
Allow column to be ignored
Users sometimes want to skip a column during data submission. This is especially useful when you use the importer to update existing data: to avoid overwriting existing columns, users can mark those columns as Ignored and the importer skips them. With CSVbox, you can give users the option to mark certain columns as ignored. Select Yes for the Allow Columns to be Ignored field and save the sheet. The importer then shows the option to mark columns as ignored on the Column Mapping screen. Columns marked as ignored aren’t visible on the Verify Data screen.The Ignore Column option isn’t available for columns marked as Required.
Default selection
When the Default Selection option is set to Yes, all unmapped columns default to Ignore Column.Data from ignored columns
Ignored columns aren’t pushed to any destination. Only the metadata (the list of ignored columns) is pushed to the following destinations:Ignored column list
In the API response JSON object, the list of ignored columns appears inside theignored_columns object, as shown below. The ignored_columns object is visible only if ignored columns are activated. In the example below, check lines 16 and 36.